
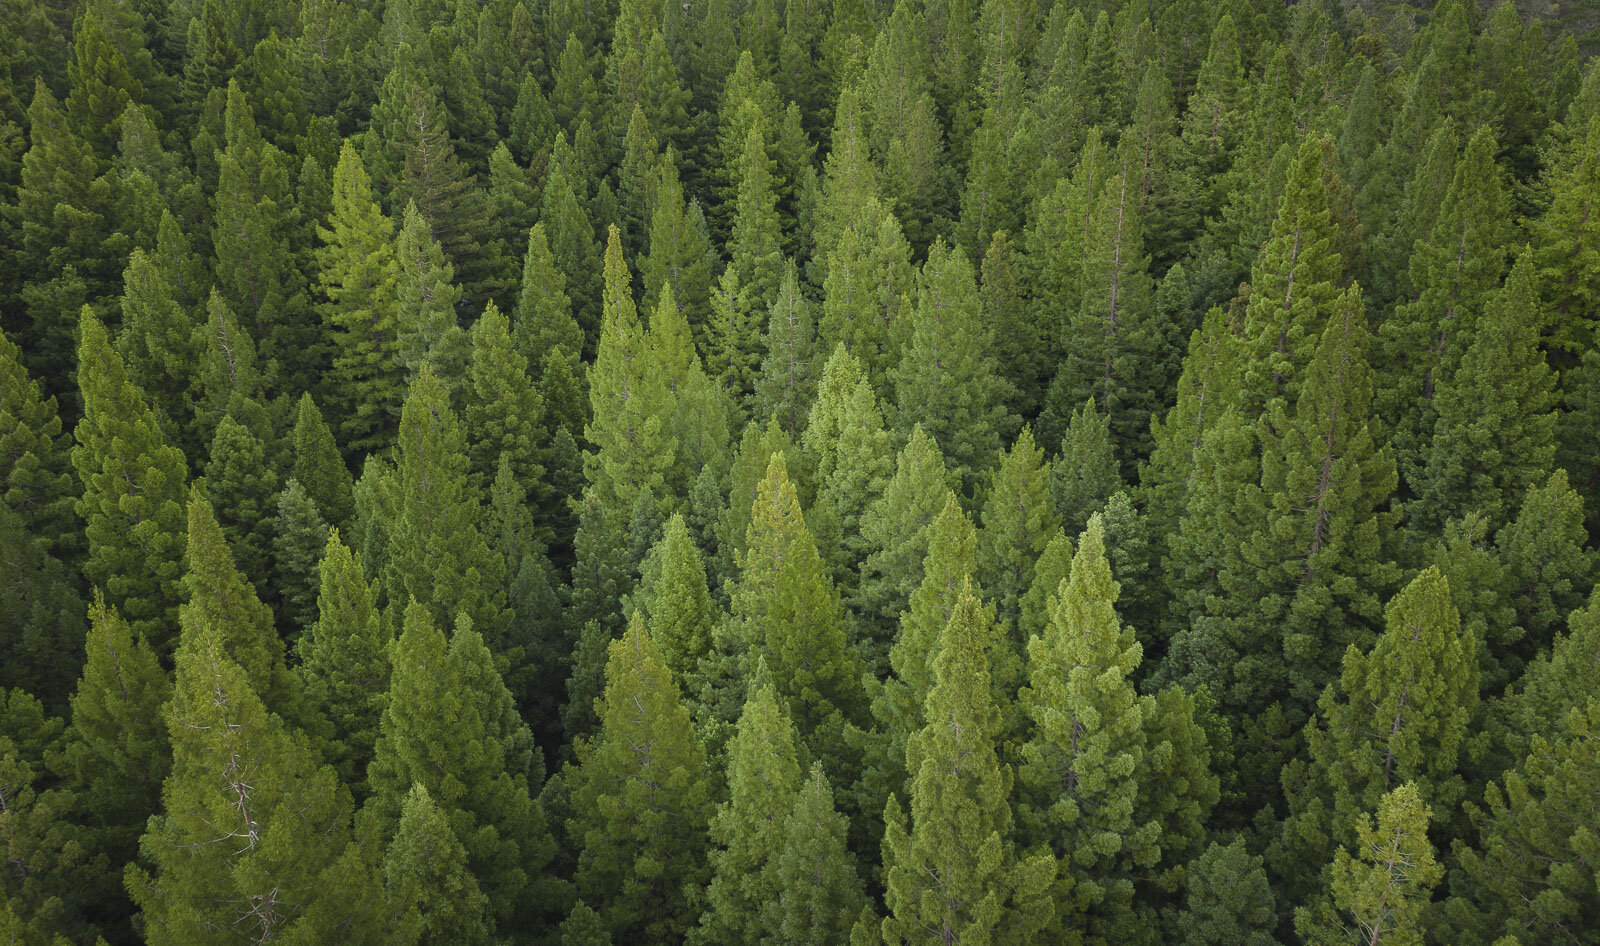
I recently ventured out the Redwood Forest of East Warburton to photograph the grand tree grove from above.
I arrived early to ensure even lighting over the scene, and captured the forest from above on my DJI Mavic Pro 2. I previously took landscape photos on my old DJI Mavic Pro, but the smaller sensor and file size (12MP) left it lacking to produce high quality prints. Thankfully, the Mavic Pro 2 has a large 1” sensor and captures 20MP raw files, allowing for great flexibility to edit the image in post-processing
For my editing workflow, I tend to break up my post-processing into two sections: global adjustments (across the entire image) and then local adjustments (affecting certain areas).
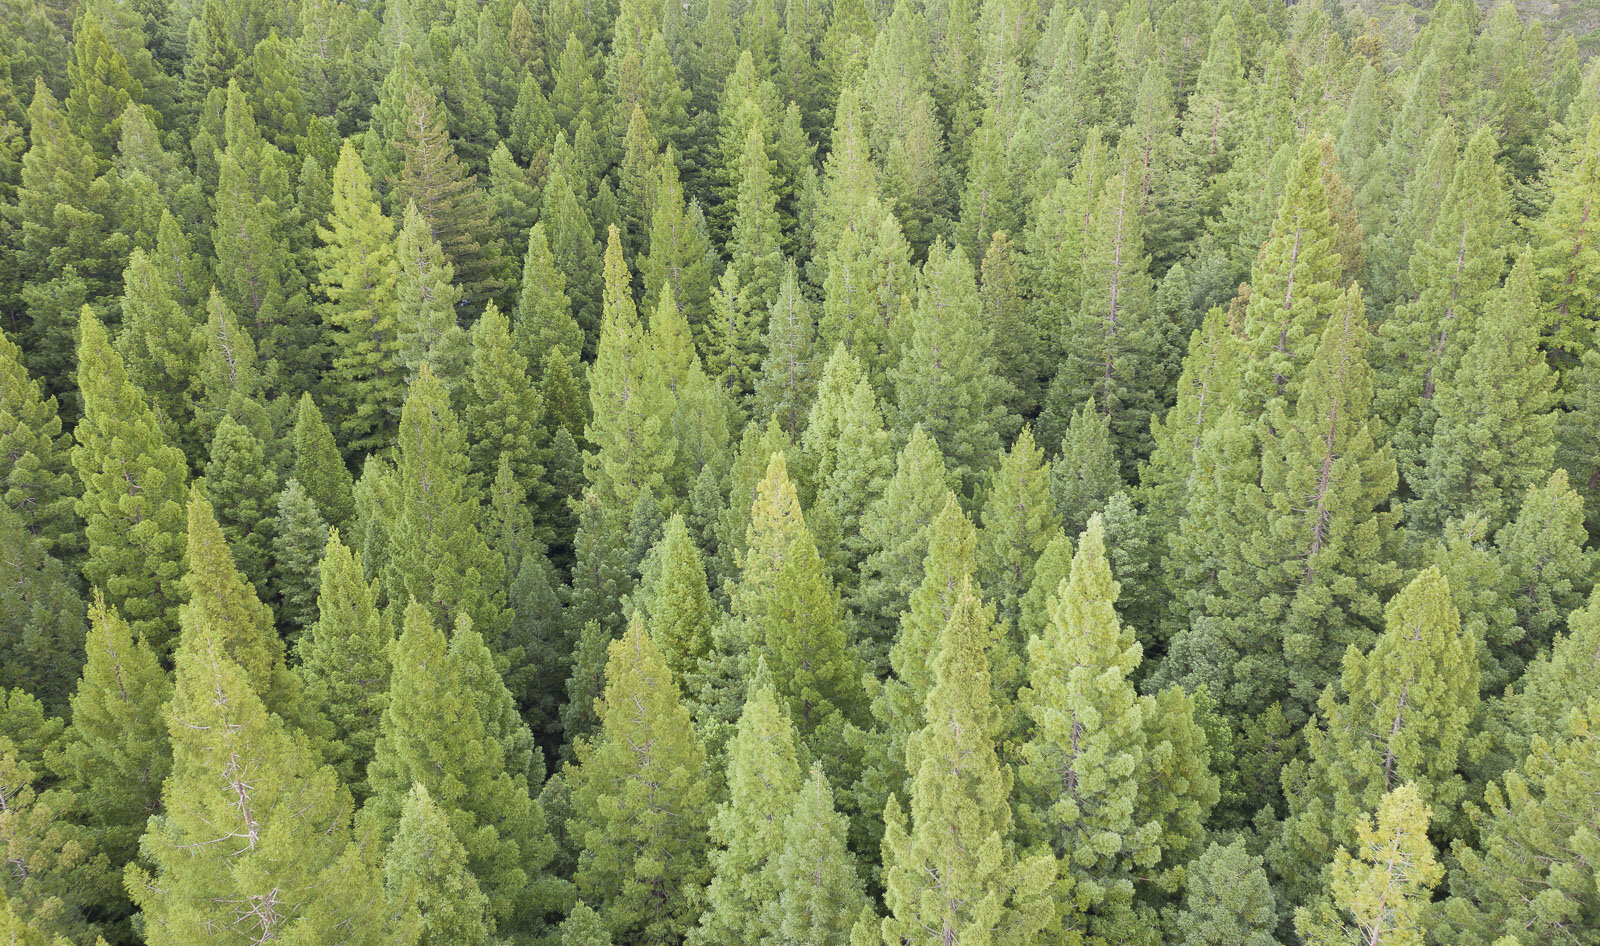
After importing the raw file into Lightroom, I began editing by darkening the image as I had overexposed in the field to ensure I captured all shadow details. I then used the Whites and Blacks sliders to control contrast—the single contrast slider affects whites and blacks evenly and can be too harsh at times.
I wanted to process this as a lush forest image, so I boosted the green colour balance and then fine-tuned the yellow and orange hues. I cooled them down to help make the foliage more green and in line with the rest of the scene.
After those global adjustments I used a radial filter in the top right-corner—this was the direction of the rising sun and was a little too bright, drawing attention away from the centre. I brought down the exposure here, bringing it even with the other corners. I then further darkened the periphery through a radial filter to create a soft, feathered vignette around the image.
Finally, I used a curves adjustment to boost the mid-tone contrast and also brought up the black point to soften the darker areas between the trees. A final tweak to split toning to cool down the shadows and the image was ready to be sharpened for web.
You can watch the full Lightroom post-processing video below.